

The Hull


Today I glued the hog (keelson or inner keel) made out of two layers of mahogany.
There is some tension because with the small size of the boat the curves are rather extreme.


After gluing I took the hog off again and made the cut-out for the centre board and rounded the inner edges with the router except for the parts where the centre board will come and the transom attaches.
Planing the hog in the right angle to receive the garboards.
Taped all the moulds. Now I can start planking! 😊
Planking

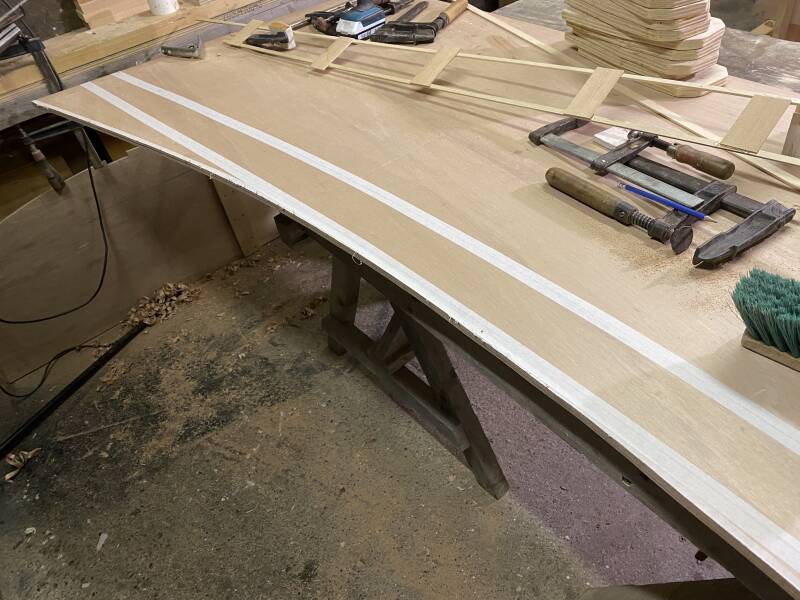
Two sheets of 6 mm Okoume Marine Plywood and some thin slats to draw the curved lines.


Glued the garboard on the hog (or keelson).
I used a rattle strap around the stern to bend the strake tips downward. (No need to steam; bending was all done cold)


The clamps we made previously for the Ilur have come in handy again.
I made a small tool to draw the lines for the next strake and rebate alongside the strakes.

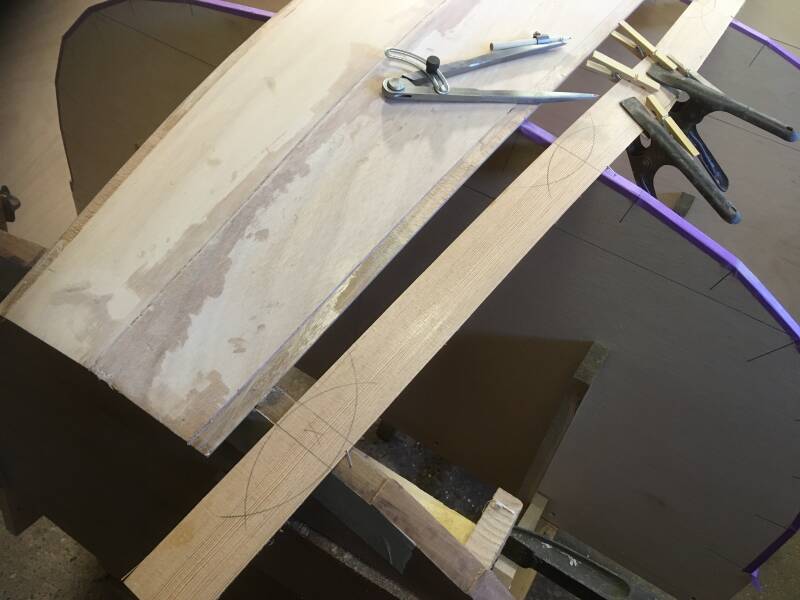

Here I take the measurements of the strakes onto the plywood using thin slats and a compass.
I take the markings from the frame mould and the strake above (rebate line)
Than take the slat of and transfer the points with the compass onto the plywood
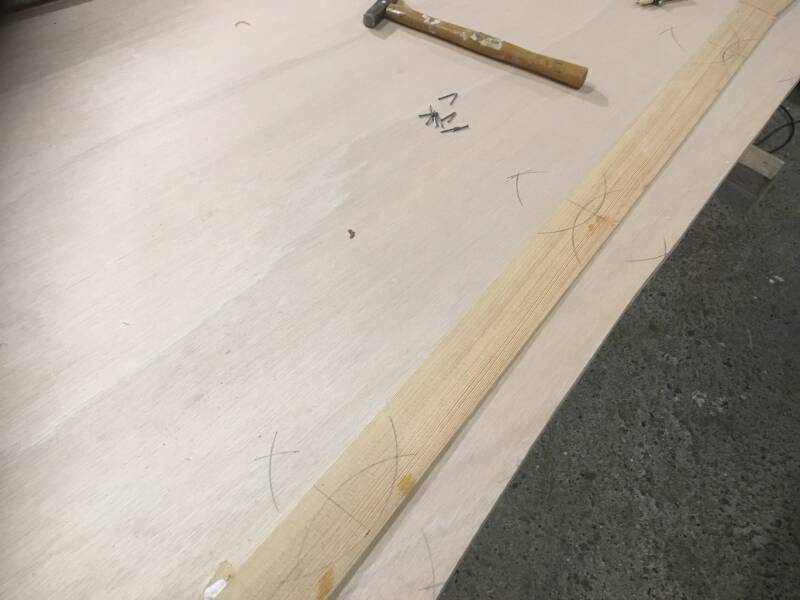

All points marked.
Using small nails and a slat to draw the curve.
I applied tape to avoid ripping the wood using the jigsaw. (Cutting two sheets at ones)
The final cut-outs. Notice the small (slightly tilted inward) rebates in the front!


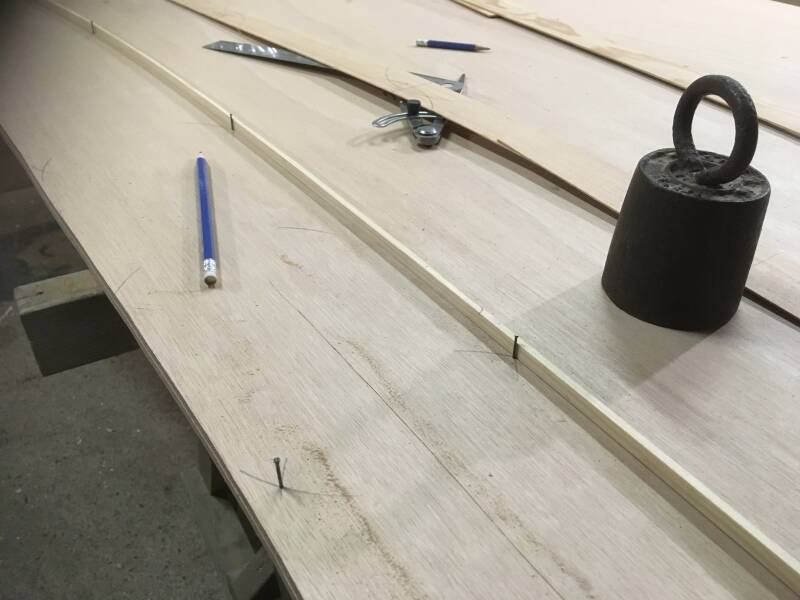
Here I glued the second pair of plankings.
I used a temporary screw in the rebate at the stern.....
and at the transom too. The next plank will cover the screw holes.

Pair no.3 is on.


On advice of two fellow boat builders (Tony Preston and John Haughey) I used a different transfer method tonight. And yes it also works fine and is slightly faster due to the use of the hot glue gun making the template out of two interconnected slats.


The fourth strake is in
On the edge of the third strake I applied the bilge keels, made of inland Oak.


At the fifth strake I needed some more clamps but I managed to get them both in right.
In the picture, above the windows, there is the template of the fifth strake.

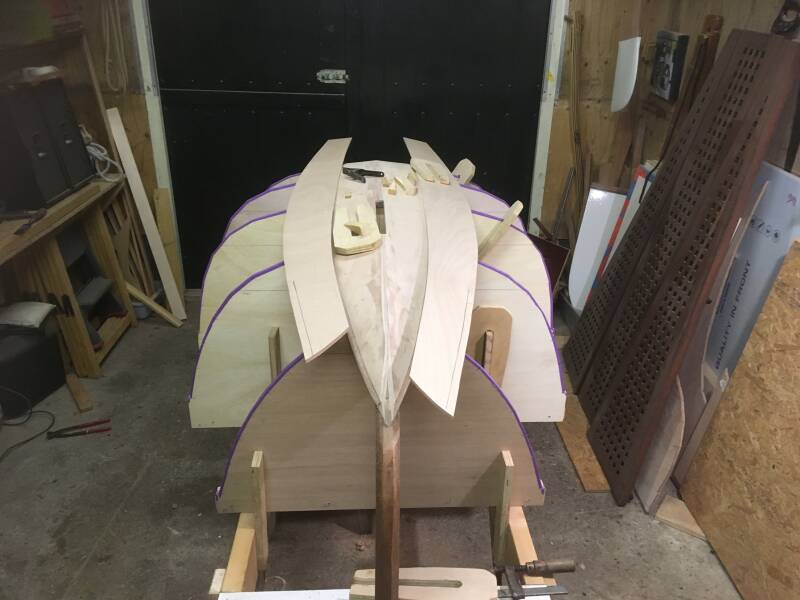
No. 7 just one more pair to go.


The last template for the Whisky strake
The Whisky strake is glued.

Today I glued the whisky strake onto our tiny boat and that had to be celebrated with a tiny bottle of Whisky I got from my friend Martin Rijpstra.
The Skeg, FALSE STEM and Keel


The skeg is made out a solid teak plank, reclaimed wood from an old tabletop .
Busy with a new false stem because the one I made in advance doesn't fit like it should so now I am making a mould to measure the curve since the planking is already fixed.

Slats for the false stem are clamped on the mould blocks.


I glued and screwed the false stern (apron) on the Auklet and applied the port side fillets. (I made too much glue for the false stern)
I also placed the bungs and taped them. The drill holes were just a tiny bit too wide .


Finished the keel and the epoxy fillets on the starboard side.
Gluing the slats around the centre board case

The lower rub rail is placed.

Here I just attached the final (upper) rub rails. A beautiful view with almost all my wood clamps in use.


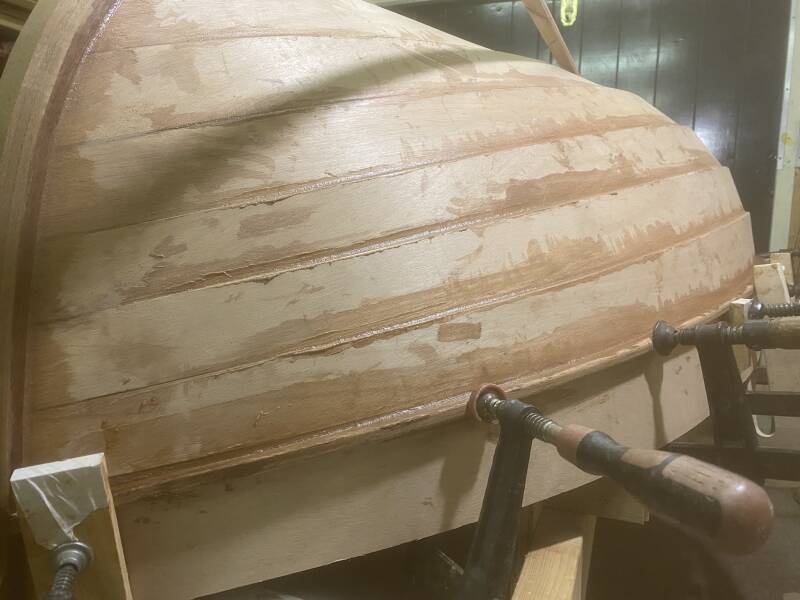
The woodwork on the outside is done. Now I will have to start sanding and epoxying.
Sanding and Epoxy
It took a whole day to clean and sand the hull
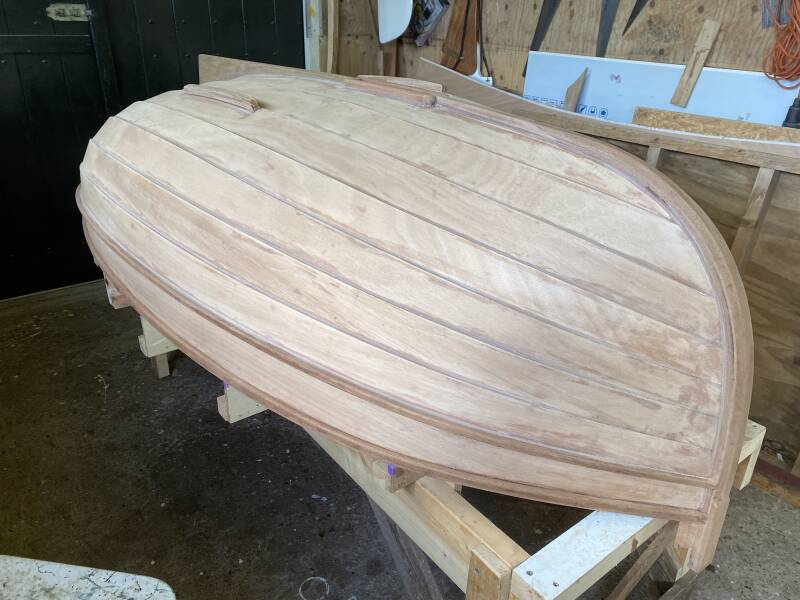
Wow... that looks awesome!
The first layer of clear penetrating epoxy sealer is applied. The wood really comes alive.


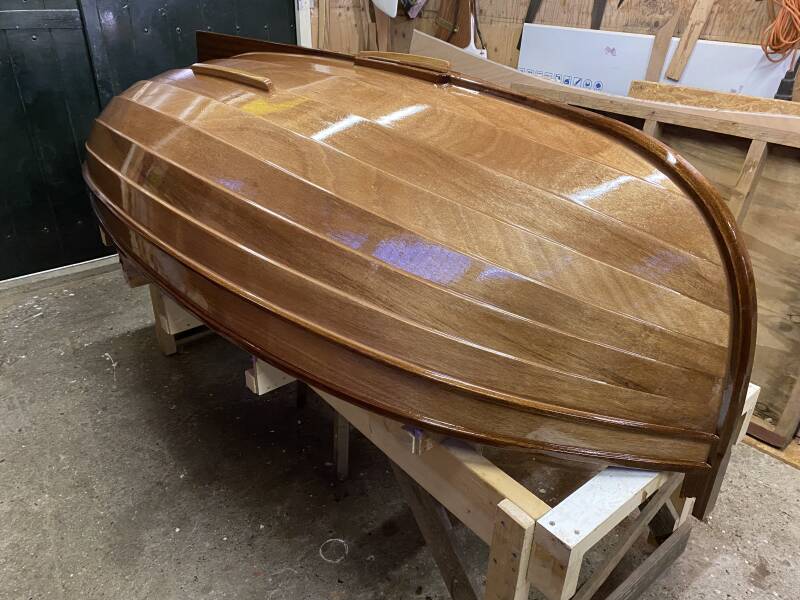
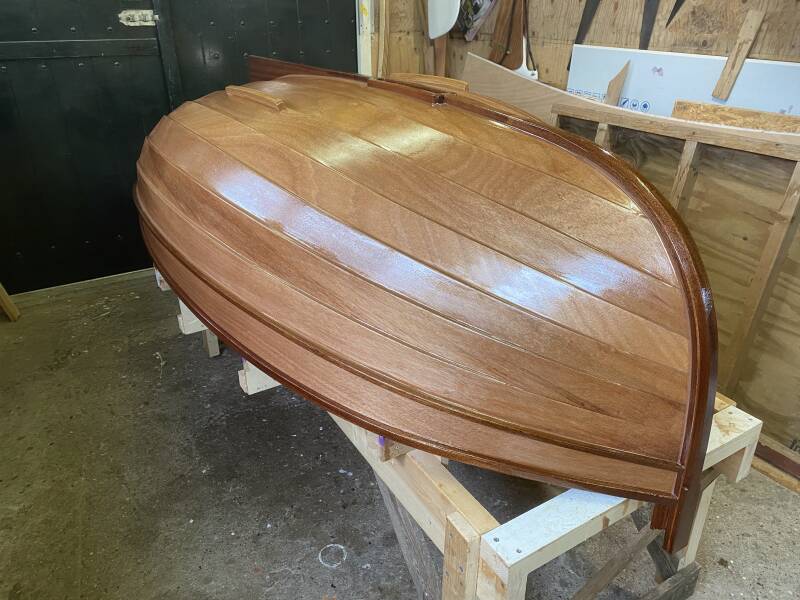
Two more layers of epoxy. Look at her shine!

Here I've put on a layer of Black Pantser Coating . Everything which is taped will remain wood-coloured.


Roughed the outside of the pantser coating to receive the final DD polyurethane black coat and DD varnish.
The first coat of black paint!

Final coat.
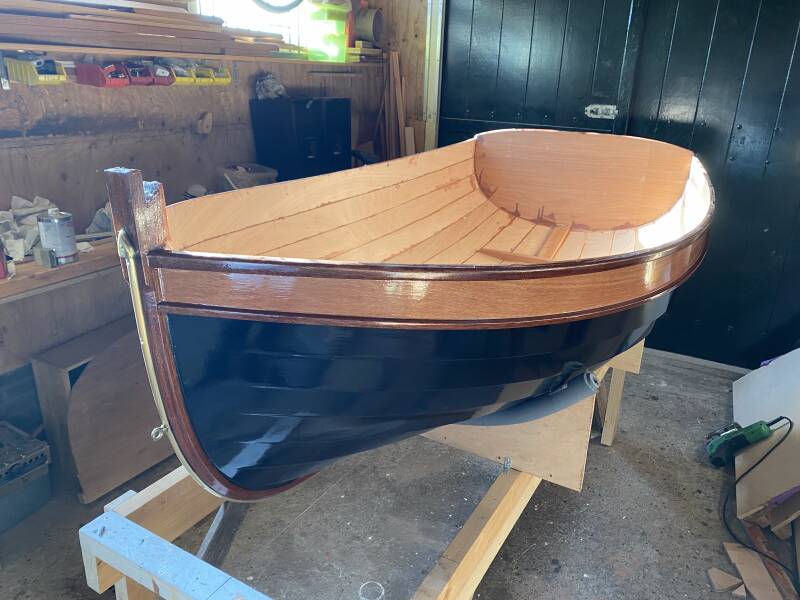

We flipped the dinghy.
Time to start with the inside.
Create Your Own Website With JouwWeb