

The inside


Before the boat was painted and turned over I made these floor ribs in advance. Thanks to Kor van der Meulen from whom I could use his band saw.
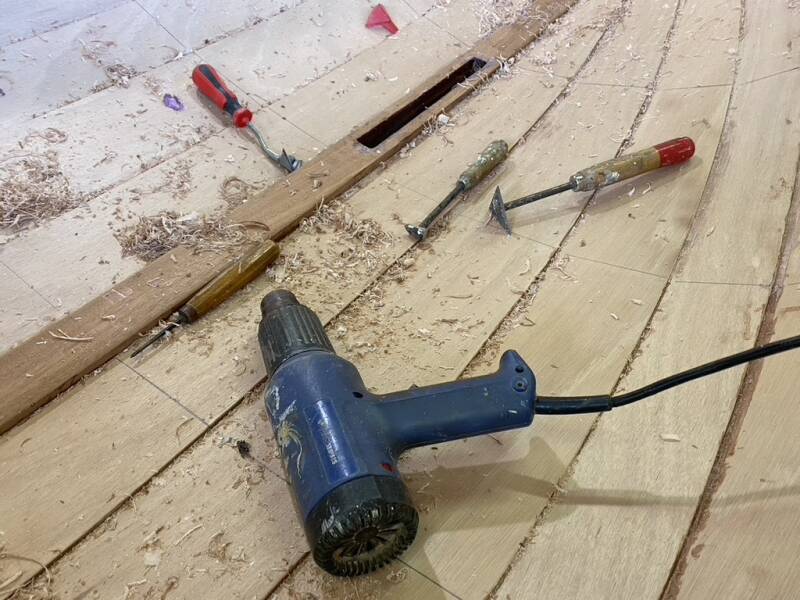
I cleaned the inside of the boat, removing epoxy residu with the hot air gun and some scrapers
I also glued in the first slats for the gunwale.


I glued two tapered slats inside making the gunwale
I also glued in the quarter knees.


Sanded the gunwale and quarter knee.
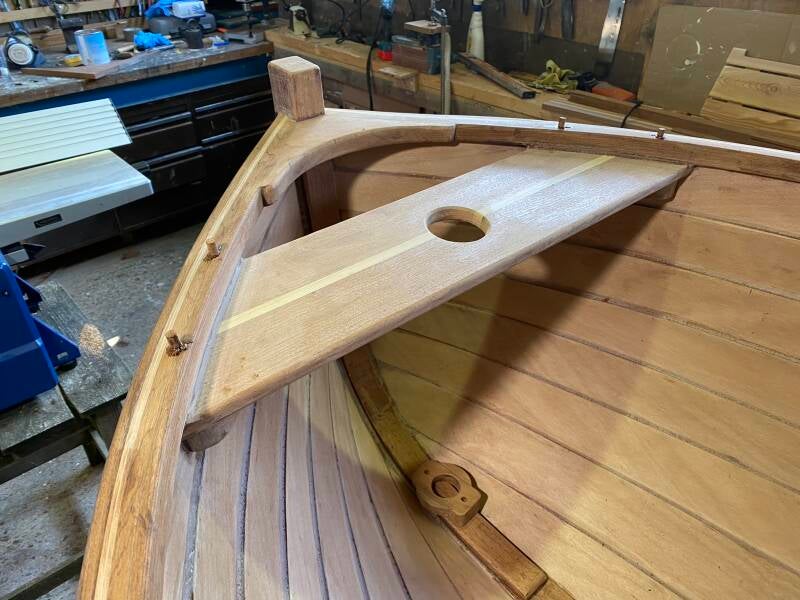
I attached the breasthook making the smallest deck ever!
The first floor truss is in.

The floor trusses are in. I also added a transom knee. This one is not on the drawing but I think a boat with such a classic look should have one. Here I have weighted the trusses with sandbags to get a good bonding.


Making the small daggerboard case.
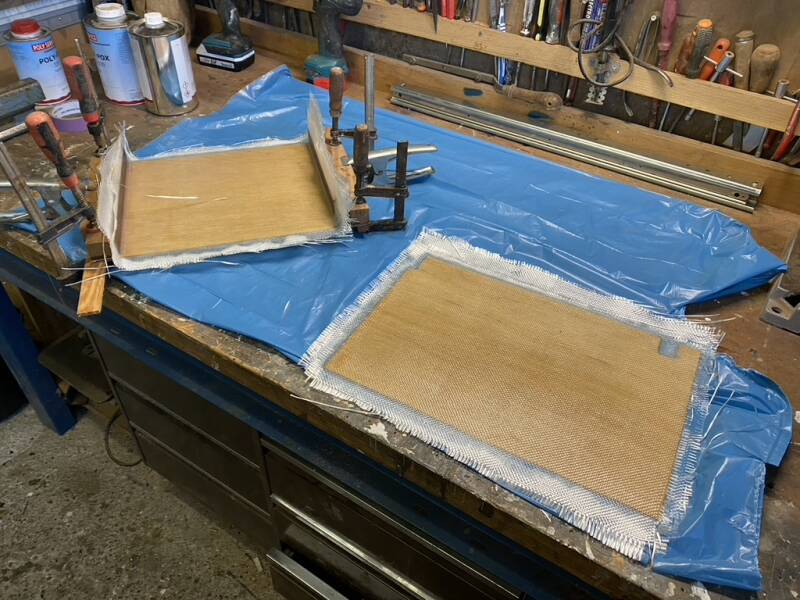

I covered the inside with glasfiber and Epoxy
On the outside I applied a first layer of Epoxy injection resin


I used epoxy filler to smoothen the inside.
A sneak preview of the daggerboard case.
I finally applied the fillets on the inside of the hull planks.
Today, 29-05-2022, I found a little time to position and glue in the daggerboard case. She can float now!


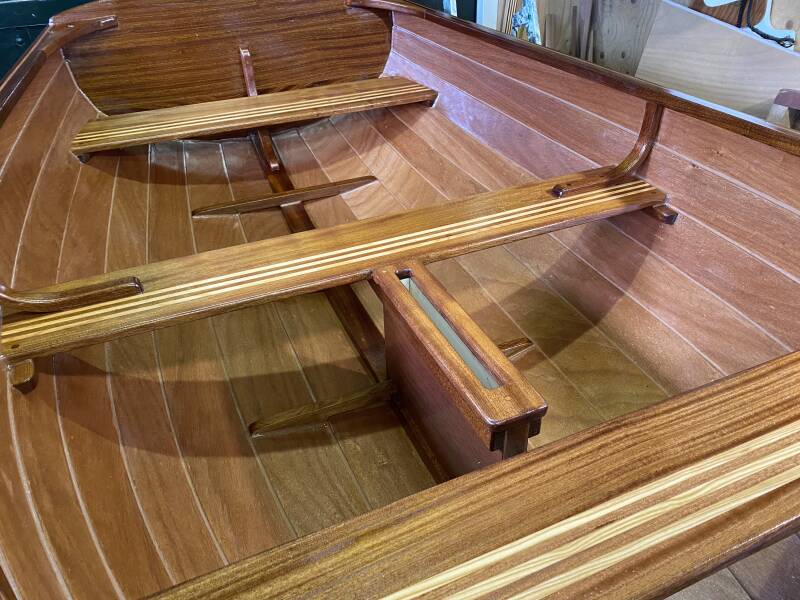
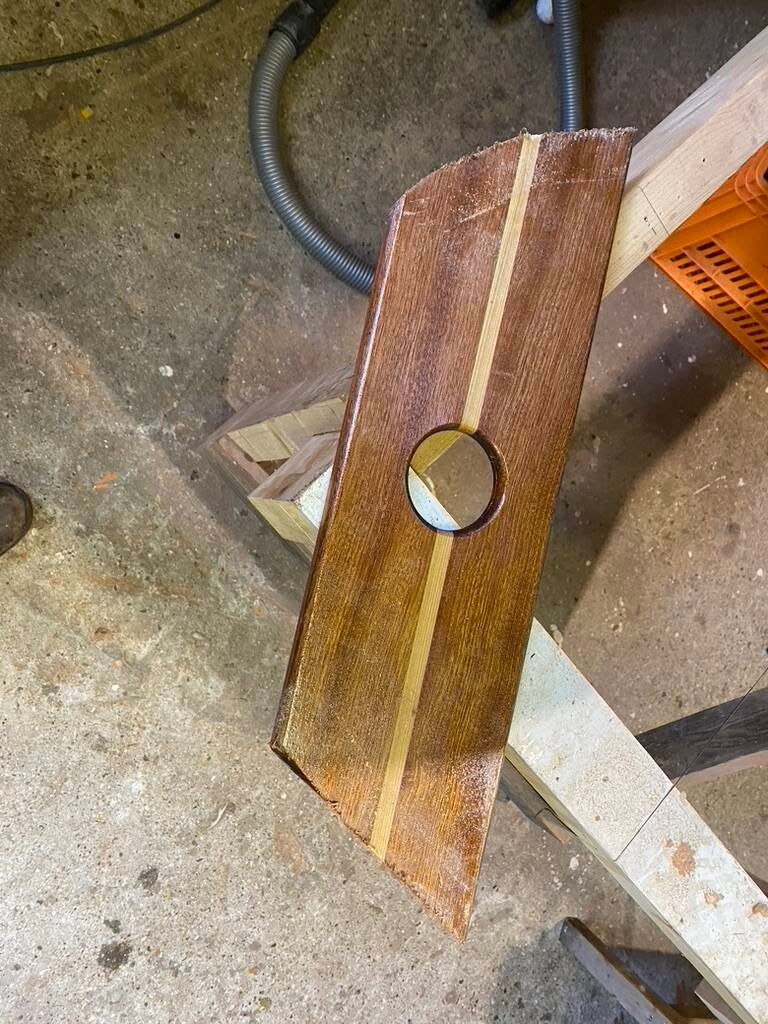
I made some decorative thwarts.
Here I glued in the seat risers.


Dry fitted the thwarts and rounded the edges with the router
Here I positioned the mast step
I made some floor boards out of Siberian Larch.

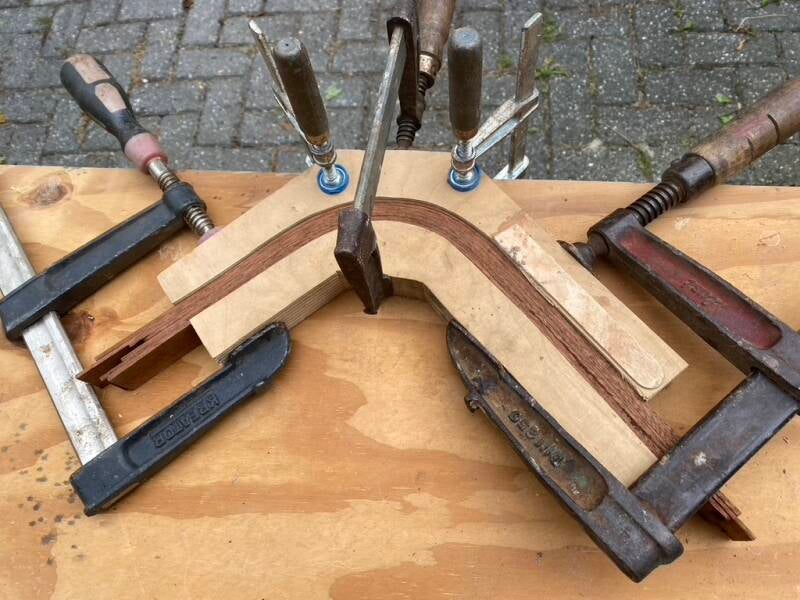
To make bend slats for the thwart knees of the Auklet I made an improvised steam box.
Here the slats are squeezed in a pre-shaped mould.


Pleased with the shape of the thwart knees.
The cleat partner is in now too!


All the thwarts are done
The floorboards


The floorboards seem to float above the trusses.
So I have to figure out a way to bend the floorboards without ripping out the screws or twisters.
Although the floorboards are rather thin there is a lot of tension when I push them down by hand.

I tried to make the floorboard curve under the workbench using a car jack. Unfortunately the Russian Larch has 'good memory' and bends strait back. I will have to come up with another plan.


I watered the floorboards in the canal behind our house for a day, wrapped them in aluminum foil and then heated them with a hot gun to make the leftover water inside steam. Now it bends and remains in the right shape!


Today ( 26-11-2022) I attached the floorboards to the boat. I made some twisters out of brass scrap.
Here I checked the depth so I would have enough wood support left and the twist latches wouldn't raise too much above the floorboard surface.


Than I drilled out the slot.
This looks neat!

Underneath the brass twist latches there is some surgical nylon washers to rase them.
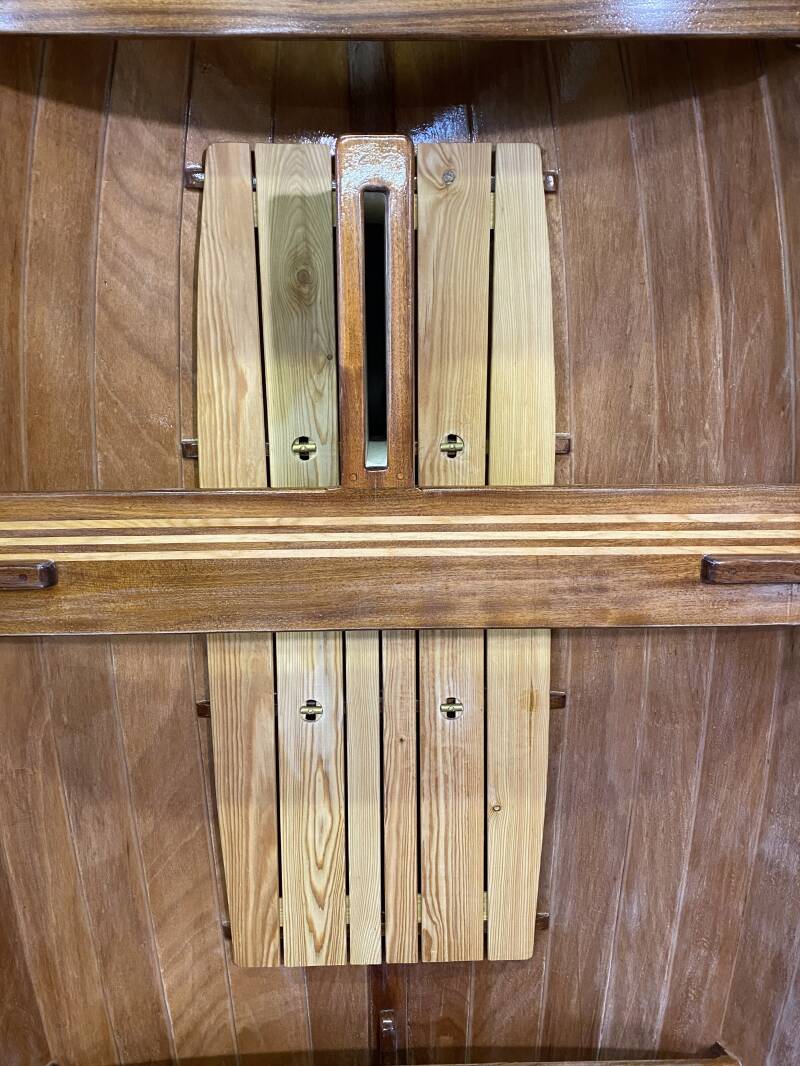

Pleased with the professional look!

Applying D1 Olje
applying epoxy and Varnishing

First layer of injection epoxy resin.

O.M.G When I took a picture from above I noticed the cleat partner was glued in crooked!

I grabbed the jig saw and took it out because it would continue to annoy me
I left the supports in place but had to chisel out the remains of the cleat partner.


Here the cleat partner is replaced and I am pleased it is all straight now! (24-09-2022)
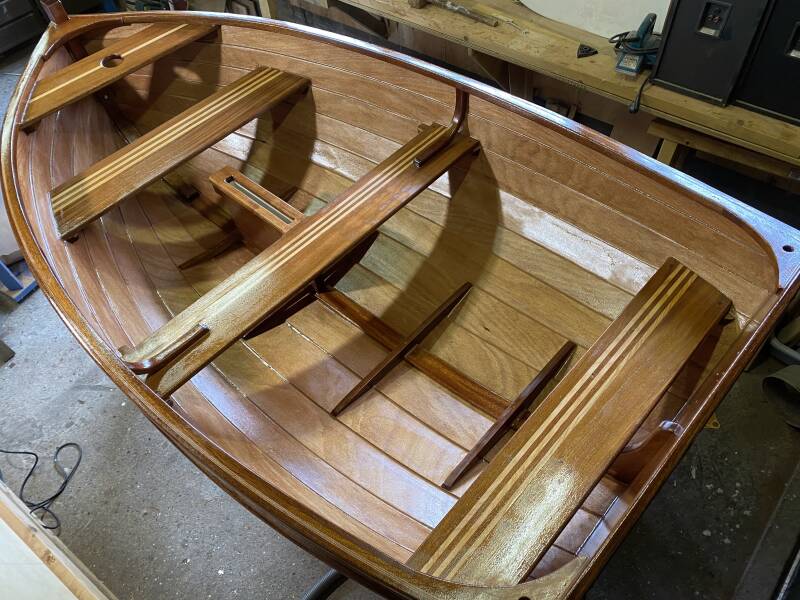
Finally applied the first layer of epoxy to the inside of the Auklet. I have set the boat upright so that I can reach everything better and in the hope that less dust will fall on it.


After three layers of epoxy I had to sand the inside again before applying the 2 pot polyurethane clear varnish with UV blocker.
2 layers of polyurethane applied so far
Create Your Own Website With JouwWeb